|
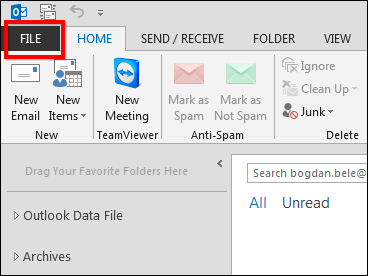
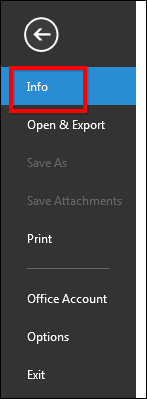
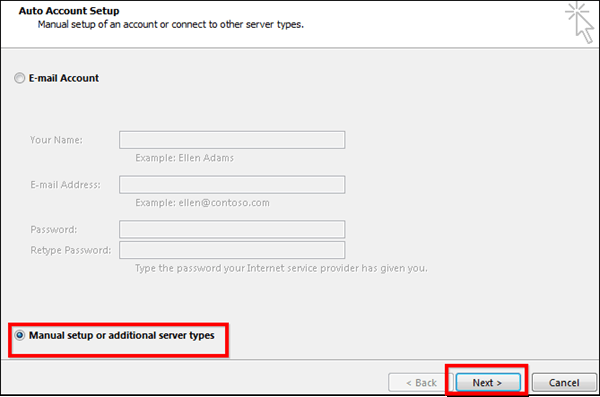
If your organization uses a Google Apps account to handle email and you’re an Outlook 2013 user, it makes a lot of sense to configure that account to send and receive email through Microsoft’s email client. That way, it’s much easier to never miss an important email and answer it the second it comes in. Configuring Outlook 2013 to work with your Google Apps email account isn’t too difficult, as long as you follow the steps below exactly. GOOGLE APPS EMAIL IN OUTLOOK 2013 Step 1: Start Outlook 2013 and click File in the top menu of Microsoft’s email client. Step 2: Make sure Info is selected in the menu on the right side of your Outlook 2013 window (not the Options one you used when enabling the Auto Complete feature). Step 3: Let’s start configuring your account. In order to start doing this, click the Add account button. Step 4: I probably don’t need to mention this, but I will anyway: the next step requires you to have your Google Apps email account username and password close by. You’ll need them for it. Set the configuration process to Manual setup or additional server types and then click the Next button. Step 5: Select POP or IMAP in the window that comes up, then click Next to proceed to the next step.
Step 6: This is the fun part, the one where you fill in all the settings needed. Worry not, if you do it right, it’s the last time you’ll be required to go through it (at least for this email account). Start by setting the email account to IMAP, under Server information, like I did in the screenshot you’re seeing below.
0 Comments
Your comment will be posted after it is approved.
Leave a Reply. |
Archives
August 2018
Categories |


 RSS Feed

